
 Courses
Product Reviews, Rulers
Master Straight-Line Quilting: Discover the New Upgraded 9″ 90-Degree Ruler
There is something deeply satisfying about a quilt finished with crisp, accurate straight-line machine quilting. Whether it is a classic border or a modern geometric fill, straight lines frame our hard work beautifully and give our quilts that professional, award-winning polish.
However, keeping those lines perfectly square and evenly spaced can sometimes feel like a test of patience—especially when trying to balance a longarm or domestic machine ruler foot while watching your seam lines.
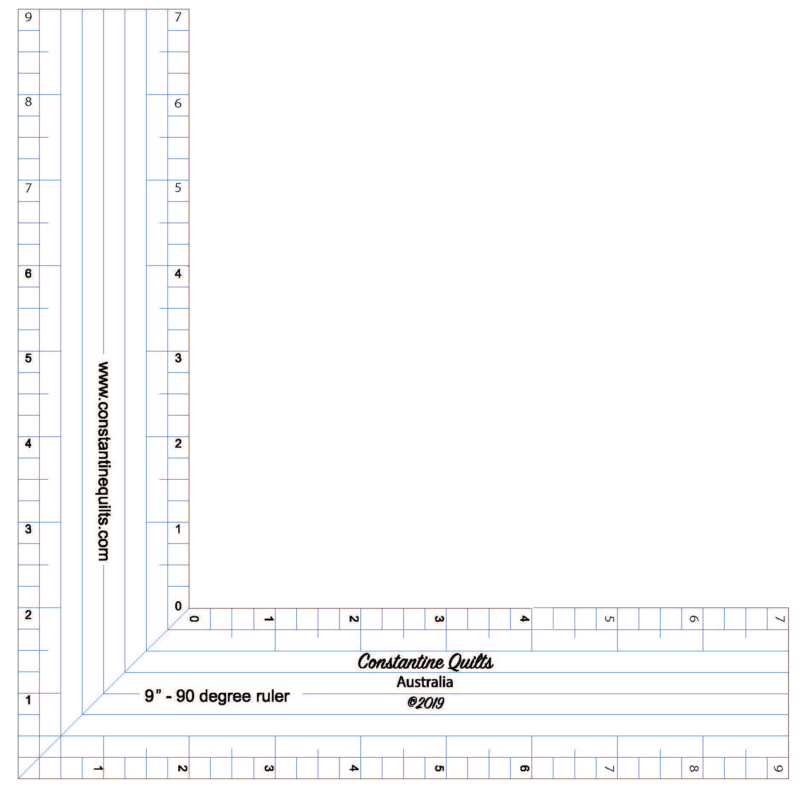
To solve this dilemma, the classic right-angle design has been completely reworked and upgraded at Constantine Quilts. Introducing the brand new Upgraded 9″ 90-Degree Ruler! This Australian-made notion has been engineered specifically to provide machine quilters with unparalleled accuracy, speed, and creative freedom. We already have the 6″ size and now we have a 9″ size ruler!
Let’s dive into what makes this tool a must-have for your quilting stash, followed by step-by-step design techniques to elevate your next project.
What Makes the Upgraded 9″ 90-Degree Ruler Different?
When re-engineering this tool, the focus was entirely on visibility and efficiency. If you have ever strained your eyes trying to count tiny dashes on a worn-out template, you will instantly appreciate these upgrades:
-
Generous 9-Inch Arms: The 6-inch length provides the perfect amount of runway for machine quilting without feeling bulky or unmanageable under the needle.
-
Accurately Etched Quarter-Inch Spacing: No more guessing games. The ruler features precisely etched quarter-inch guidelines with clear numbering, ensuring your alignment is spot-on every single time.
-
Varying Division Heights: Look closely at the markings, and you will notice the etched lines use different heights for different divisions. This clever visual cue allows your eyes to quickly identify measurements while stitching, keeping your pacing fast and consistent.
-
Built-in 45-Degree Line: Etched perfectly down the center, this line takes the math out of crosshatching, chevrons, and diamonds.
4 Gorgeous Designs to Try with Your 90-Degree Ruler
This single ruler can unlock a massive range of straight-line design layouts. Below are four practical ways to utilize it on your next quilt, complete with tips for smooth execution.
1. Perfectly Parallel Piano Keys
Piano keys are a timeless choice for borders, but they quickly lose their charm if they start to slant. The 90-degree angle ensures your lines stay perfectly perpendicular to your seam line, regardless of your border’s width.
How to Stitch It:
-
Place the first etched line of one ruler arm directly along your border’s seam line.
-
Align the perpendicular arm to run outward toward the edge of the quilt top.
-
Stitch along the edge of the ruler to create your first line.
-
To space the next line, simply shift the ruler sideways. Use the quarter-inch etched lines to guide your travel distance. By keeping one arm anchored on the horizontal seam line and moving the vertical arm, your lines stay perfectly straight and parallel in both directions.
Pro-Tip for Machine Quilters: When ruler quilting, remember that your needle stops quarter inch away from the ruler’s edge due to the diameter of your machine’s hopping foot. The etched lines on our Constantine Quilts rulers account for this, making it easy to align the markings with your previous line of stitching for exact quarter-inch or quarter-inch spacing.
2. Effortless 45-Degree Crosshatching
Crosshatching adds a stunning, high-end texture to borders and sashings, but keeping that 45-degree angle uniform across an entire quilt can be tricky.
How to Stitch It:
-
Align the etched 45-degree registration line of the ruler directly along your border’s seam line.
-
Stitch along the edge of the ruler arm to establish your first perfect diagonal line.
-
To step over for the next line, look at the varying height divisions on the ruler. For a crisp one-inch spacing, slide the ruler down until the third etched line sits directly over your previous line of stitching.
-
Repeat this process down the length of the border. To create a diamond crosshatch, simply flip the ruler around and work your way back in the opposite direction using the exact same guidelines.
3. Crisp Border Chevrons (Stitching in the Ditch)
Chevrons give a wonderful geometric movement to any quilt border. The secret to stitching them quickly and cleanly lies in mastering a technique called “traveling in the ditch”.
How to Stitch It:
-
Mark out equal divisions along your border seam line to serve as your target points.
-
Line up the 45-degree etched mark on your ruler with your first division point.
-
Stitch up at a diagonal to the outer edge of the border.
-
To head back down, pivot your machine, align the opposite side of the 90-degree ruler, and stitch back down to the seam line to complete the first point.
-
Instead of stopping and breaking your thread, travel in the ditch along the seam line to your next measurement mark. Traveling in the ditch gives you a clean, stable spot to pause and reposition your ruler, providing ultimate accuracy and control.
-
Line up your quarter-inch guidelines against the previous chevron line, stitch back up, and continue the pattern across the border.
4. Creative Frames and Modern Fills for Nine-Patch Blocks
Don’t limit this ruler to borders! It is an exceptional tool for waking up traditional blocks, like a standard Nine-Patch. You can create intricate, secondary geometric patterns simply by framing out individual squares.
The Echo Frame Technique:
-
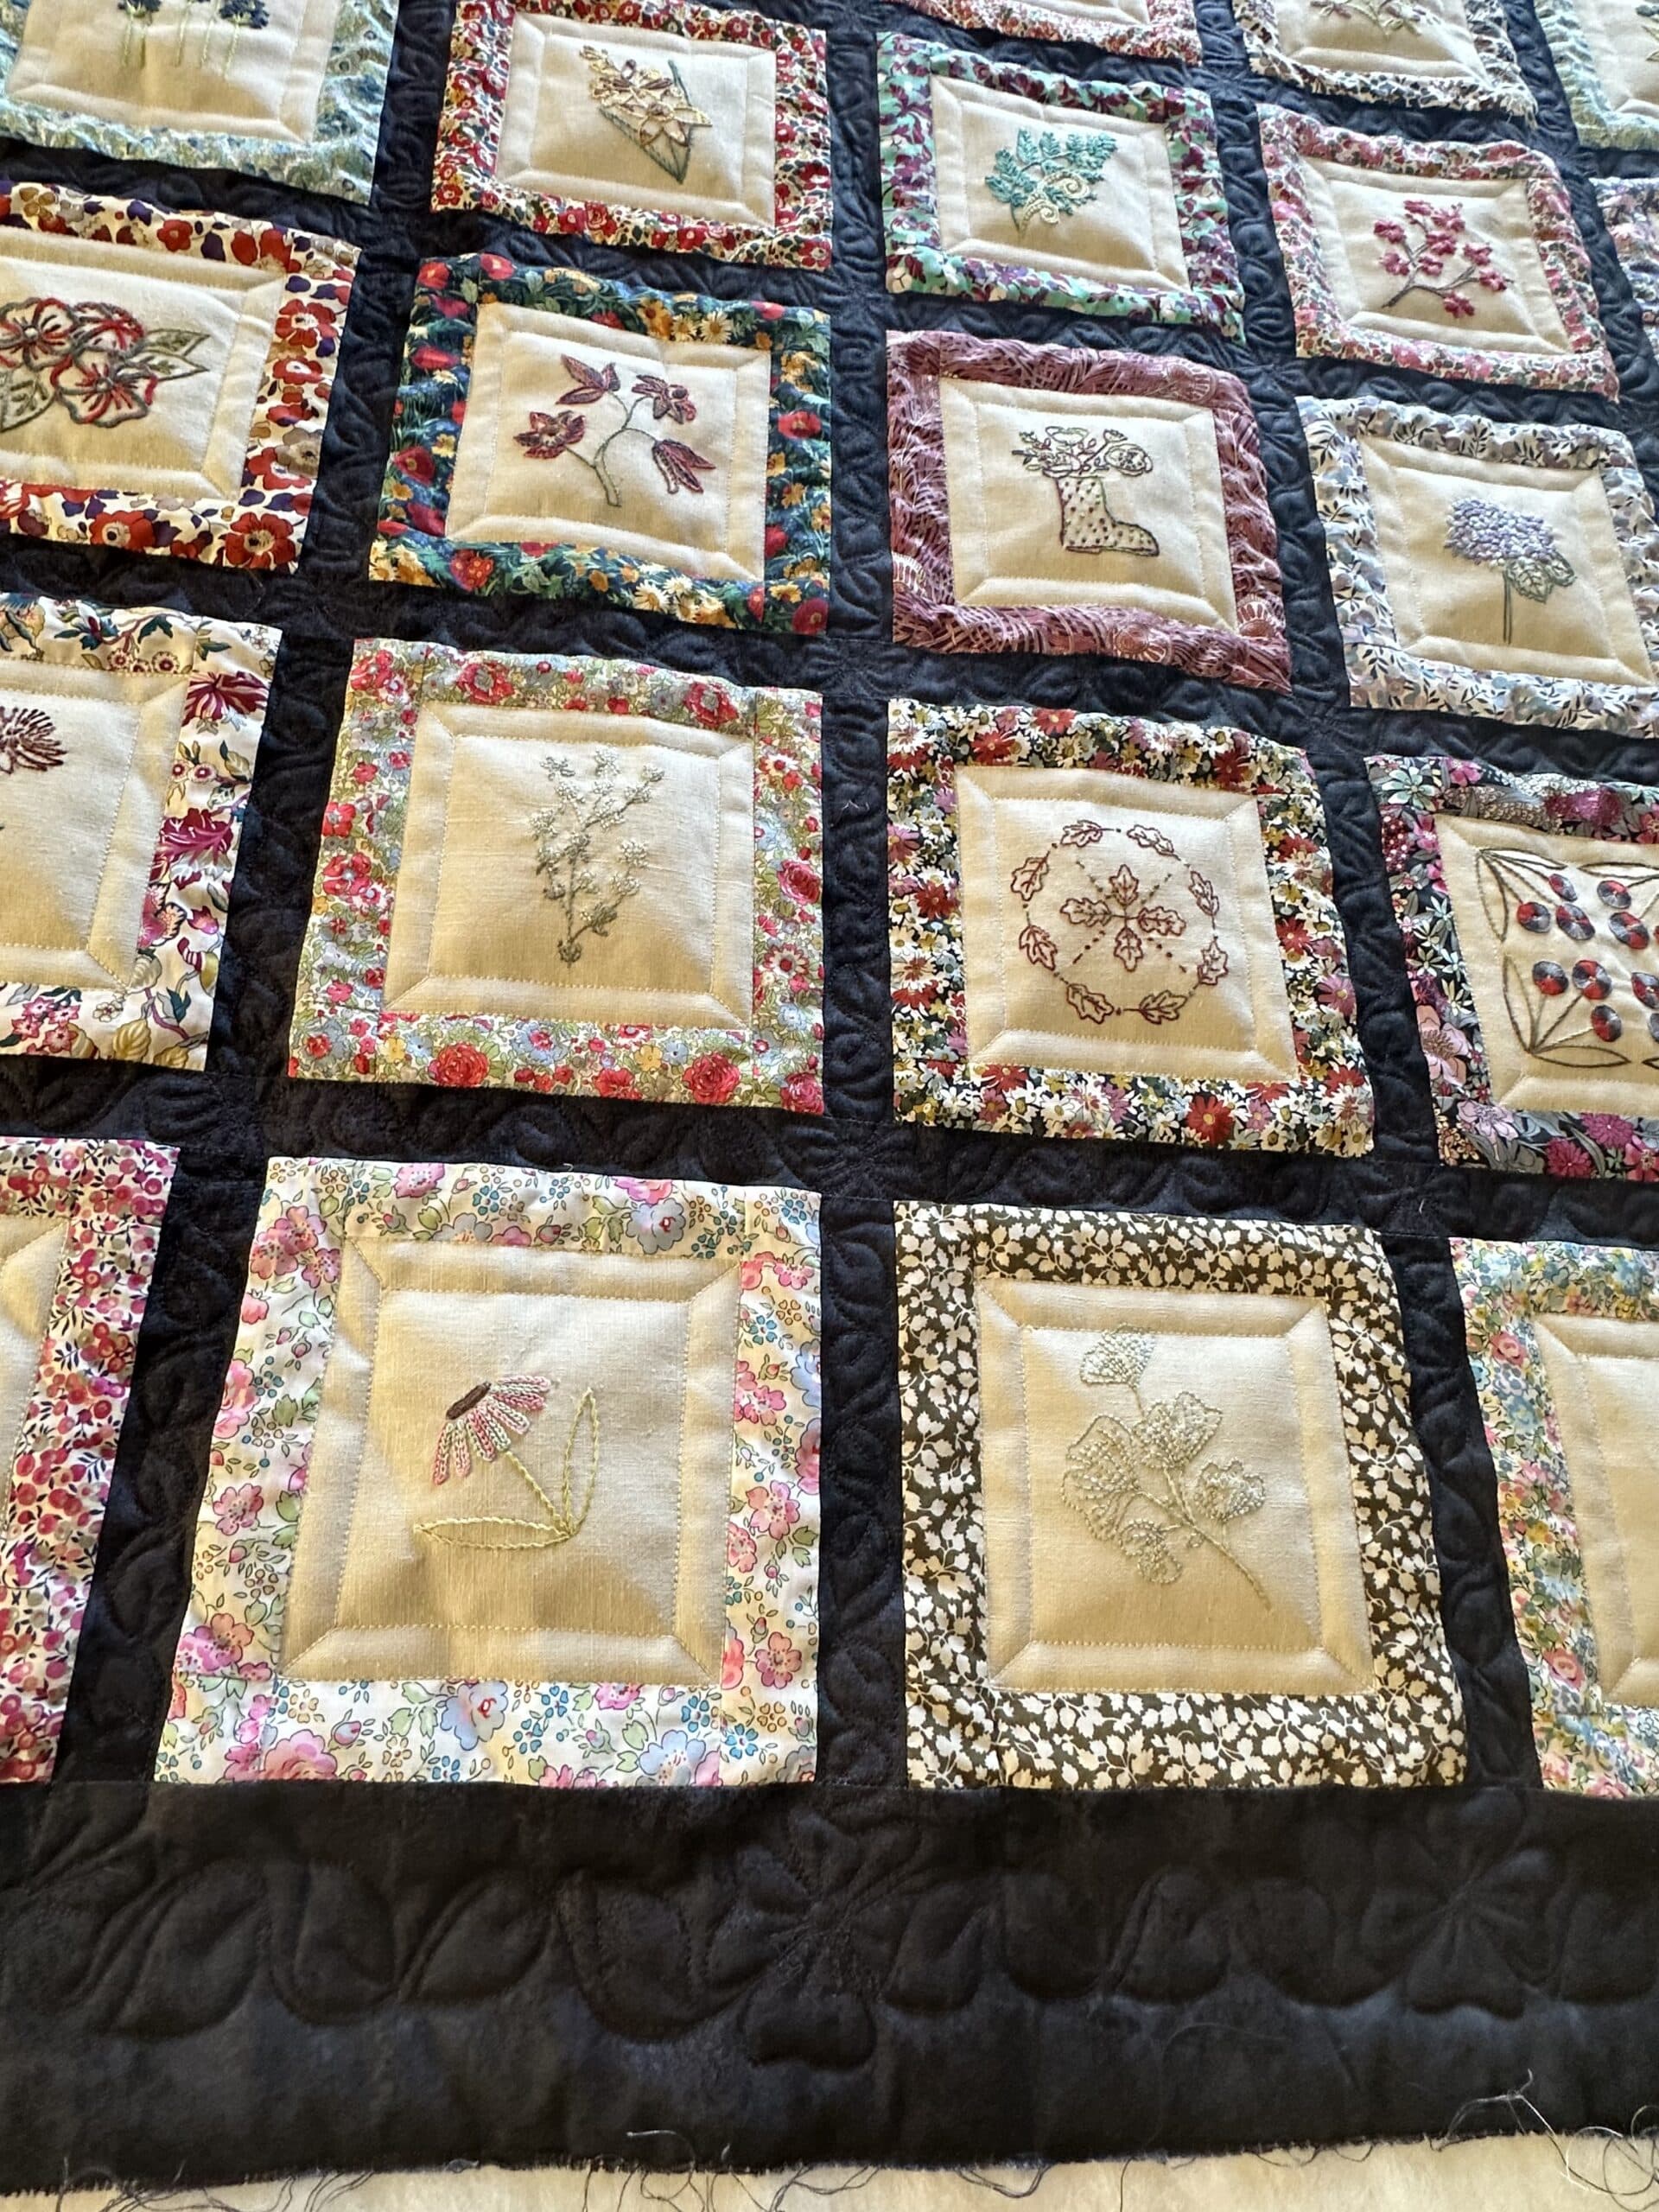
Place the edge of your 90-degree ruler directly on the inner seam line of a corner square and stitch a quick, clean quarter-inch echo line.
-
Slide the ruler down, using the first etched line to guide you, and stitch a half-inch echo line.
-
Alternate between quarter-inch and half-inch echoes on all four corners of the block to create a gorgeous, nested frame effect.
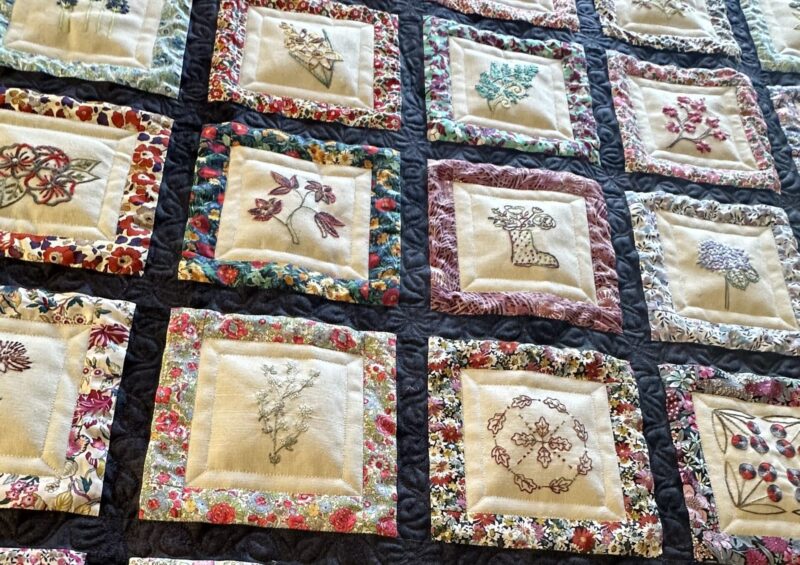
90 deg ruler echo lines.
The Center Chevron Twist:
Once your frames are established, use the corner points of your block to stitch straight lines into the center. By echoing these lines at right angles, you create a striking chevron starburst inside the block. You can leave the center open, or fill the negative space with a beautiful free-motion background fill to make the geometric straight lines truly pop!
The Nested Square (Judi Madsen Style):
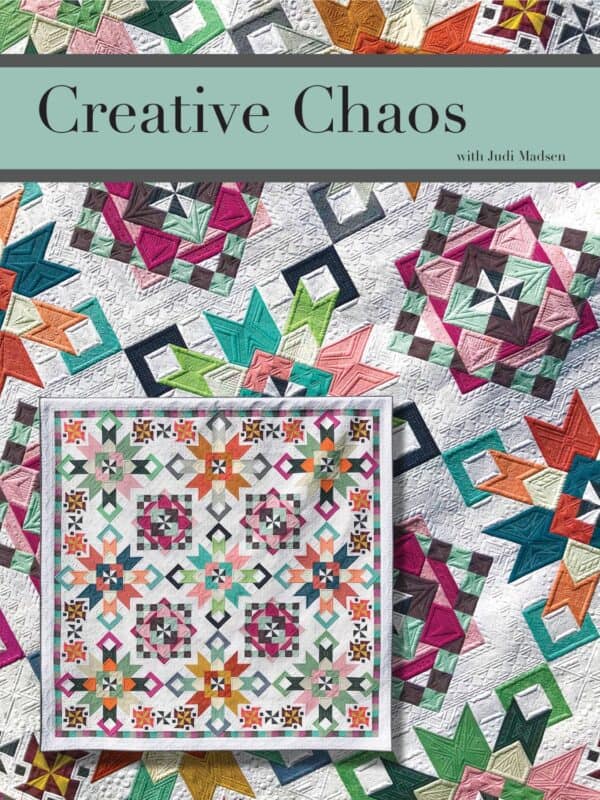
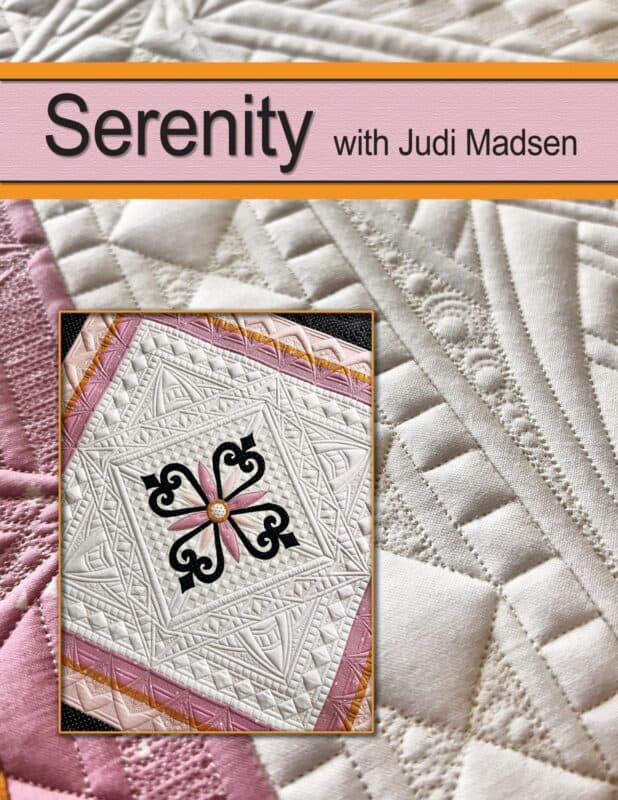
For an ultra-modern look popularized by designers like Judi Madsen, you can use the ruler to nest continuous squares within a block. Start on one side, stitch to your corner, rotate the 90-degree ruler to match your machine’s foot, and continue around the perimeter. Use the registration lines to step inward by precisely half an inch each time, building a beautiful, hypnotic geometric maze.
Add Precision to Your Quilt Studio
Straight-line quilting doesn’t have to be stressful, and it shouldn’t require endless marking on your beautiful fabric. With the right tool in your hand, creating parallel lines, chevrons, and nested squares becomes rhythmic, relaxing, and incredibly rewarding.
The Upgraded 9″ 90-Degree Ruler is proudly Australian-made and ready to become a hard-working staple in your notions drawer. Head over to the Constantine Quilts store today to upgrade your rulers, explore our selection of premium quilting threads, and find the inspiration you need for your next heirloom project!
Happy ruler quilting!!

PS: watch a video on how I use my 90 deg rulers here
